Wednesday, June 27, 2012

Things finiished.....

Cheers to the lady who is a first time smocker who also tackled picking up dots by hand!! This is View C from "Pinafore and Sundress", a Grace L. Knott pattern. I added this view to the pattern when I did the update a few years ago.


Here is her second dress and her work is just as meticulous as in the first (lime green) dress. She wrote to say she hopes to make View A of the pattern, a yoked sundress with shoulder ruffles. Hope she will share this one as well....

Just a note about the "H2O Gone" fabric stabilizer that I used with the very stretchy knit fabric in the last post. The store where I purchased this stabilizer offered no information other than it was water soluble. 
You probably were not able to tell from my photo, but, the piece I pleated has some shaping to it as in my "Little Snowdrift" pattern. I have to say I had absolutely no problem with the pleating and shaping when there was sufficient basting done ahead. (Above is the right side of work - one side still has the basting in place.)

A friend uses this product frequently for her machine embroidery and she told me that contrary to most products removed by water, this one requires warm water, (about 80 degrees F). She suggested bringing a kettle to boil, pouring a large bowl of water and letting it sit for a few minutes - until you can put your hand into the water - then swishing the piece in the water to remove the stabilizer. 

This product is distributed by Marathon Threads of Winnipeg, Manitoba and I copied this information from their web site:
" Trim excess stabilizer. Too dissolve remaining stabilizer, submerge article in liberal amounts of warm water and apply a slight agitation, or run through a delicate wash cycle. Due to hard water conditions, it may be necessary to repeat this step."


Here is the Bumble Bee fabric all finished - in the same pattern in View A. Again a really, really good job done! If you go back a few segments in the blog you will see close-ups of the smocking design and how Marian managed to expand the design and choose the colours.


Marian also wants to dedicate a padded hanger to this dress when she gives it as a gift. She asked if she could use a snap to hold it in place. What a great idea! 

I suggested the female portion be attached to the dress so there would be no chance of skin irritation or scratching. Then she matched up the male portion on the 'shoulder' of the hanger and stitched it down. Now the little sundress won't fall off in the closet either!


So until next time, keep on stitching......

Monday, June 25, 2012

Pleating stretchy knits

Hello again! 

First I want to show you the green polka dot dress that our first time smocker made. I am so impressed and I think she is happy as well because she is starting another dress from the same pattern for her other granddaughter. 

Next on the list of things I wanted to show you is a series of samples I did up of a fine knit fabric which contained Lycra - so you know it was really stretchy - not just in the cross grain but also in the lengthwise grain! So there was no chance of pulling this fabric to keep it on grain as it was pleated. 
A lady from B.C. had written and asked if she could use a knit fabric to smock a nightgown for her daughter. The answer is yes if you take the proper care and precautions.

Here you see the knit fabric from the back with a piece of stabilizer quickly basted to it along all four edges. Remember this is only a test.
What you need to keep in mind is that the right side of a knit fabric of this type has courses running the length of the fabric. 
You can not straighten a knit fabric. You will have to work with it as it is as it has been heat set before leaving the factory and you can not tear it or pull a thread.
The stabilizer I am using is called "H2O-Gone". It is a non woven light weight product that came on a bolt and is used for machine embroidery. It is water soluble and shrinks noticeably if it comes in contact with steam! Do be careful; use a dry iron only.

So it went into the pleater beautifully and formed good neat pleats.
I could gently adjust the fabric if it started to go off but this had to be done carefully. However part way through I knew I was running into trouble. the layers were starting to feed at a different rate. When I was finished there was a bubble       which proved more basting was required to keep the layers together across the fabric. Below you can see bubbles that I pleated through at the end of the fabric.

For the next test I machine basted the two layers together at the top edge, and every inch below just to be sure. Here I have used a dark thread so it will show up in the photo and used a long stitch with the tension loosened so the stitching would pull out easily.
You can see in the photo first from the wrong side, how it looks with the pleats slightly flared as for a bishop and the basting threads are removed for half of the width. The second photo is the same piece but from the right side.


And how does it smock? Perfectly! The however is, no instructions came with the piece I purchased. I was simply to remove it with water. So I dipped it in tepid water and left it to dry. Not so great. It was so stiff and scratchy you would never put it on a child like that. So I poured another basin of tepid water and washed it. Much better but it would need machine washing or a lot more effort if done by hand. 

There must be many other water soluble stabilizers on the market that will pleat just as well and come out a little easier. I just wanted to try one of the new ones.
If I were doing this for a real garment I would remove as much of this stabilizer as possible before putting it in water. And, if I were sure it would not stretch, I would go back to one of the Sulky brand products.

If you have used one of these water soluble stabilizers, perhaps you would like to tell us the name of what you successfully used!
So until next time, keep stitching.....

Thursday, June 14, 2012

Follow-up on pleating without a pleater

I heard back from the lady who had never smocked before and was trying to pleat with traditionally spaced dots (as opposed to machine spaced dots).
Her work has truly impressed me and luckily she was willing to share her success with the rest of us.
Close-up of tight pleating


The fabric was dotted, not a seersucker as I thought. And fortunately the dots came up in a fairly straight line - not on a distracting angle or in globby splotches.


Pleating pulled up tight to steam and set
So to sharpen the hand pleated pleats, it is best to pull up the gathers as tight as you can, give them a shot of spray starch, a good bath of steam from your iron and leave them to dry overnight.
Do not press the pleats, just hold the steam iron over top of the pleats to give the lots of steam.

Doing this will define the pleats and make make the smocking (embroidery) easier. The gathering thread is on the very back of the pleats when hand pleated, not part way through as in machine pleating.


Smocking started


Here she has started the first row of her smocking. She writes that she now realizes that the matching green is perhaps not the best colour as her smocking doesn't show in contrast to the fabric.

Since the top of the sundress has been folded back to form a facing (eliminating the need to finish a raw edge) she needed to take a deeper stitch in each pleat to be sure to catch the second layer of fabric.

I suggested that she work out a plan for her colours and stitches on paper using coloured pencils to represent the colours of floss she was planning to use. This saves not only time but floss and fabric.

I can hardly wait to see the finished dress and she did promise to send a photo. I think you will all agree she has done a great job for a first go at smocking. It would be nice if you let her know by posting a comment below where she can read it!

So until next time, keep stitching......

Monday, June 11, 2012

Pleating for smocking when you don't have a pleater.....

A few days ago I received a note from a lady on the other side of the continent from me who had purchased the pattern, "Pinafore and Sundress" from Grace L. Knott. Many years ago I had done the revisions on this pattern and added View C to it so I had a rather intimate knowledge of it.

This dear lady had never smocked before and was trying out the traditionally spaced dots for the first time. For those of you have never used the traditionally spaced dots, they are just a bit closer together than the machine compatible ones. If you have never smocked before, this spacing might be just a bit close for comfort.

I then discovered that she was also working with seersucker. Now seersucker on its own has a few challenges but when pleated with a pleating machine and aided by some spray starch, you can get some excellent results. I never gave a second thought and rattled off some suggestions for her to try, suggesting that she test out the method that she thought would work best for her.

Well, later that day I went into the sewing room to find a left over piece of seersucker from the very pattern she was about to work on! See photo above.

I chose to use a fine-point fading marker and my trusty drafting ruler. I marked the fabric at 3/8" intervals every 2" (the width of my ruler) being very careful to work from a straight edge (a pulled thread to guarantee straight grain). Then I joined up the dots I had made and had straight lines with which to work. In future I would have chosen a water soluble marker as the lines started to fade very quickly! Must have been the weather....

 First I tried picking up every coloured stripe as I suggested - not the greatest results. 1

Then I tried picking up every third stripe (1 coloured, skip 2 stripes, then pick up a white etc.) which didn't give a solid white on the right side of the fabric - but the pleats were better. You got sort of a shadow of colour. 2

Then I tried picking up every other coloured stripe (1 white, skip 3, pick up a white). 3 

This was probably the best of all. Now I have to temper this with the fact that this seersucker has stripes that were barely 1/8" in diameter. If your stripe is wider then all this could change again.
Here are the samples from the right side after a shot or steam. they still are not as even as a machine pleated piece but #2 and #3 are very good. 


Another fabric that hand pleats really well is 1/4" gingham. Here you see a piece of taffeta gingham that I use for the dolls top a few blogs ago. I didn't have to draw a single line to pleat up this fabric. 


I picked up a full square of the coloured stripe and on the right side I had a solid white area on which I could do my smocking. I've seen this done and it is very dramatic as it looks as if you have used an insert of white fabric for the stitching!
 
From the right side
From the wrong side
 I also really liked the black side and could easily see this gingham smocked in bright red for smashing results. 
Once again you can play with the proportions to get the size and depth of pleat you like. You can see the vertical spacing I used and that can change as well but by doing it as shown, you have the halfway mark defined for you.


And just one more point about working with stripes, plaids and gingham fabrics - they give wonderful effects when cut on the bias for piping. Do give it a try.

Hope this has inspired some of you to try hand pleating for interesting results.
Till next time then, keep stitching.....

Wednesday, May 30, 2012

Taking license to be creative...

Well, here we are coming up to 11 weeks with this broken leg! But I'm coping and now have a brace which allows me to walk without crutches or relying on the wheel chair. Hurray!  Just wanted to let you know that although things have been rather hectic around here, I have been teaching some private classes while recuperating.

So one of my student friends had a question about choosing a design plate and colours for her smocking.

Her fabric was the most adorable white Swiss Pima cotton pinwale pique with bumble bees in black and sunshine yellow. It pleated up nicely without huge globs of print and her choice of pattern was the Pinafore and Sundress that I had revised for Grace Knott. Marian had a design plate in mind but needed to make a couple of changes to make it fit the depth of pleating.

The first concern was colour. 
She was hesitant to smock with black so chose a yellow to match the yellow of the print. Good choice! 
For her second colour, I suggested a lime or bright yellow/green to make the stitching look fresh. 
The design plate called for flower accents and Marian had her heart set on bright red which worked beautifully. But the flowers needed to 'pop' so she added black French knots - large enough to make them visible. Now the flowers had 'centres' and the black also gave 'focus' to the bouquets.

So here you can see the finished smocking for the front of the sundress. A row of smocking was added at the top and bottom of the design which was not part of the original design plate. More about this below.

 Marian's next question was, 'Does the back always have to match the front?'  Of course not. In fact, if the child is old enough to start dressing herself, having  variation of the front on the back, can make it easier for her to get her pinafore on the right way!

So if she was going to omit the flowers, how was she to fill the space?

Here is a close up of the top of the design plate as it was given originally. 
I suggested that she take one of the rows from the design (2 step half space wave/cable combination) and add it above and below the cable row to give a picot edge to the design. As you can see above and below that worked out nicely. I am not a fan of smocking a straight row of cable, stem or outline at the top of a design. Too often it doesn't line up evenly with the seam (or piping) when the yoke or binding is attached.


When she took that one row or smocking and mirror imaged it, it to created diamonds. These fit in so perfectly with the original design. Marian centred the diamonds vertically and off-set them between the borders. Low and behold she had a whole new design simply by making use of a single row from the original design. 

Could she have gone further? Yes, she could have by adding an accent in every other diamond in red or black but sometimes it is better to stop before you go too far. She wanted the sundress  to be light and spring-like and besides it was only a size two. Better to keep things simple.

Lastly here is the back with the yoke attached and ready for final assembly.

I hope this has inspired you to try taking license with a design you are stitching to create a new custom look for a garment you are making!

Until next time.....

Wednesday, April 25, 2012

Testing my skills....

This broken leg has made life run at a slower pace and kept me out of my sewing room! Everything takes twice as long and having this leg-in-cast protruding ahead of me all the time is awkward to say the least. I get easily bored at the best of times, so when I came across a child's top in an advertisement I decided to see if I could duplicate it for my American Girl Doll, Samantha.

My version

I set up shop on the dining room table as this would be a small project. I could reach pencils, ruler,tissue paper and I even had some taffeta gingham close at hand. My husband agreed to bring down my little portable Lotus sewing machine and I was "in business"!

The first thing to do was analyze the photo. It appears to be a swing top with three box pleats in the front and circle sleeves - you don't see those very often. The top looks as if it ends just below the waistline of the low rise jeans. The neckline looks a bit lower and as if it is faced with bias, top stitched in place. The hem, since it is so flared is probably hemmed with a bias facing.
Now that doesn't sound too hard and we can guess that the back is the same as the front but with some sort of opening.


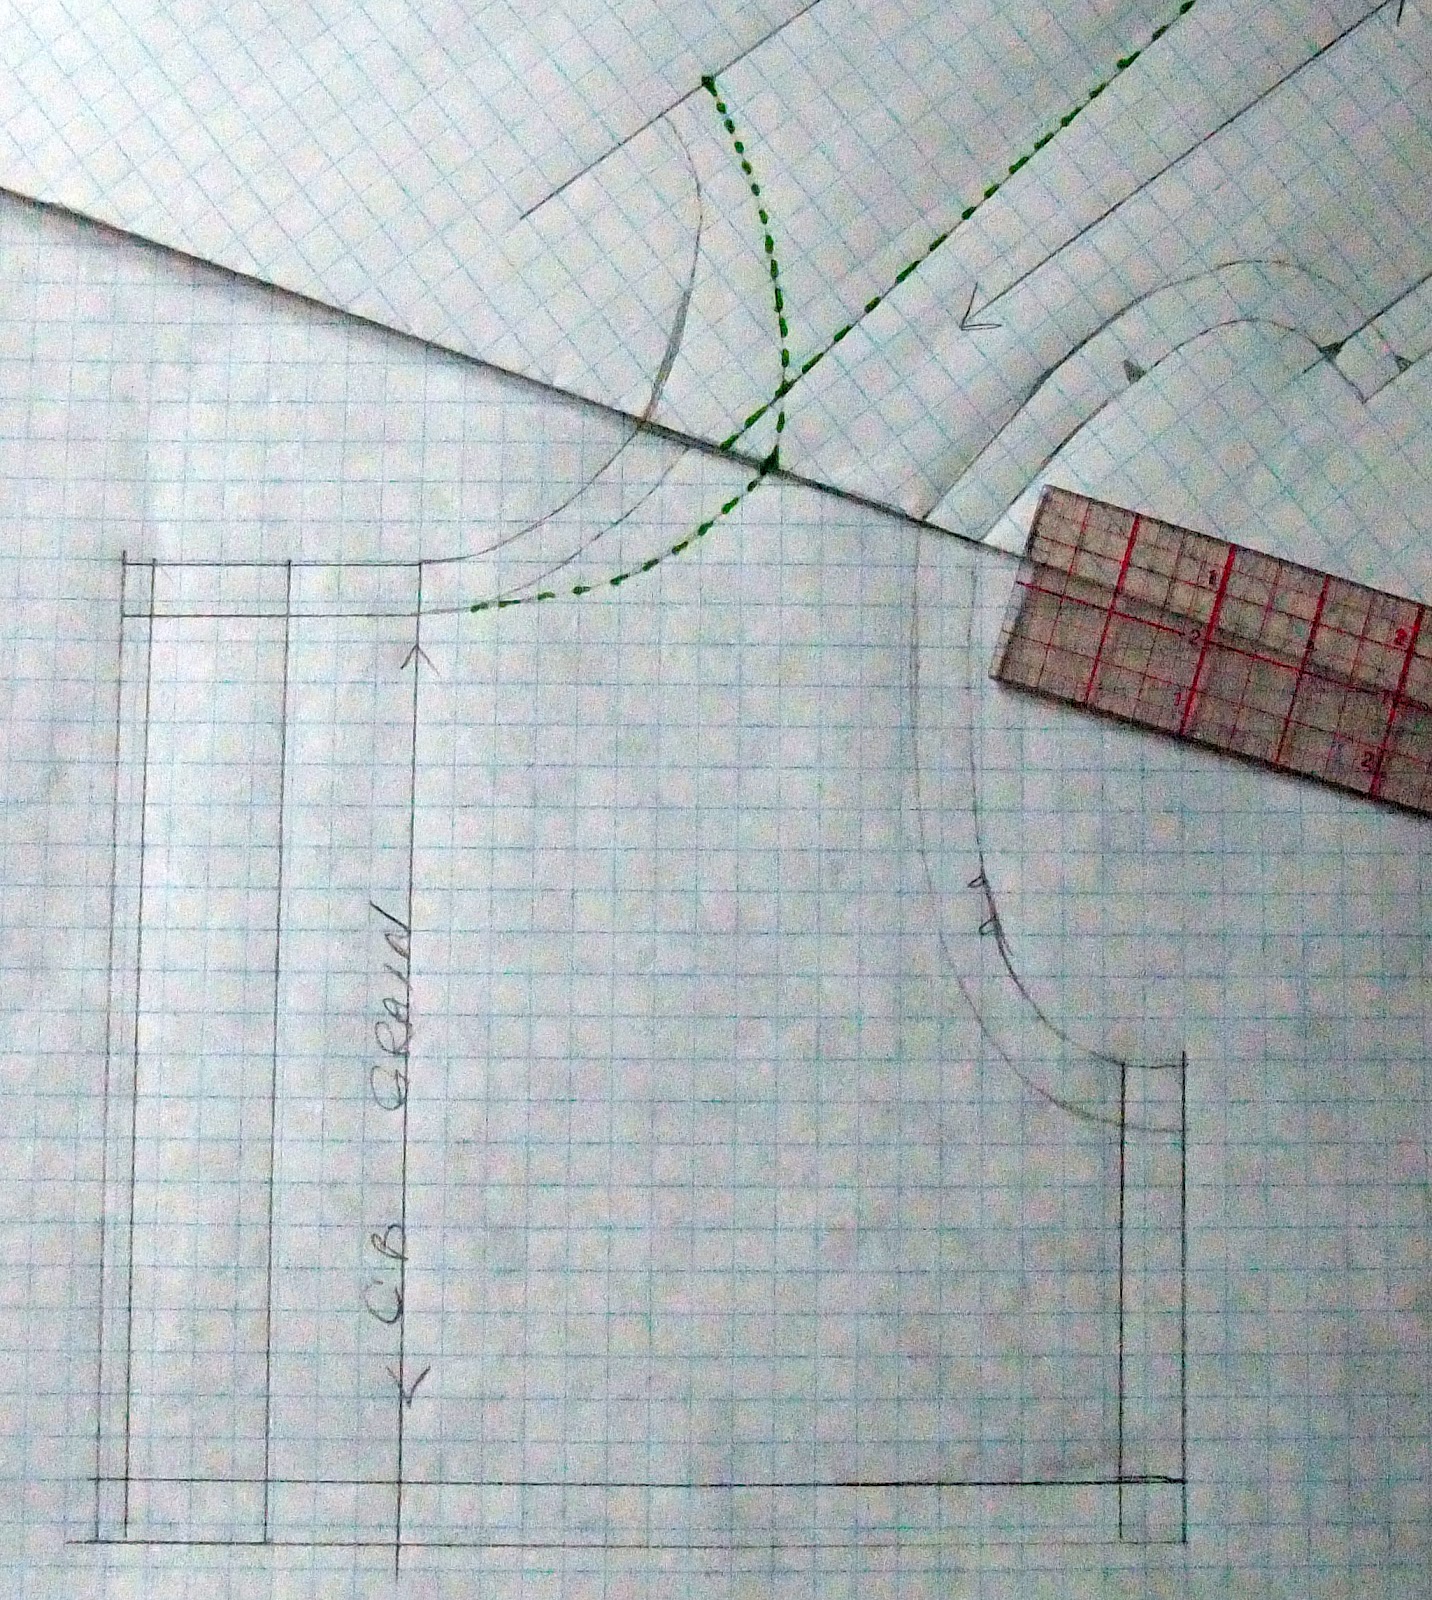
So take a basic pattern (I used my basic blocks which I had created for drafting Samantha's wardrobe) and trace off a Front and Back onto tissue. Determine the Back length and square across for the side seam. Make the Front side seam the same length and square across to the CF.

Flair the side seams at the hem the same amount. (I pivoted the hem out about 1/2".) 
Lower the neckline on the Front and Back 1/4". Now trace off the second side of the Front so you have a full Front pattern. Draw a line down the CF from neck line to hem. Find the mid point of the neckline (between CF and shoulder point on either side of CF) and the mid point of the hem on either side of CF and the new side seam. Join these two points so you have three lines and put cross marks at different points on each line. 


Make three box pleats of tissue.(I made mine a total of 1" wide.) 
Now cut the pattern on these lines - you have 4 pieces. Tape the box pleat in place. Fold up the pleat and cut the neckline to get the shape of the box pleat insert at the neckline.

Repeat these steps for the Back of the top.
Verify the hem shaping. If you don't have a French curve and most of you won't, use a plate to get a nice curve. Join the tissue pieces along the side seam.


Smooth away the point at the side seams. Line up the edge of a French curve or the edge of a plate to the bottom of the side seam and the slashed line of the box pleat closest to the side seams. Note: use the far side of the box pleat in each case. Draw a line to join these two points. The hem will be straight from CF (CB) to the side of the box pleat on either side of the centre points.                    
                              

             Add seam allowance to attach hem facing.


Add seam allowance to the CB of the Box pleat. Create an opening using the seam allowance.

Estimate the size of the sleeve. Draw a circle based on the length of the sleeve at the under arm, plus the depth of the armhole, plus the length of the sleeve that drapes down from the shoulder. Fold the circle in half lengthwise and crosswise.

Trace off the arm hole of the front an back bodice without side seam allowances. there will be a gap at the top. Sketch in a curved line to join the top points. Fold it in half lengthwise. The extra fabric will be gathered in over the shoulder to make the sleeve sit better. Fold the armhole in half vertically. 


Place the new armhole on the vertical line of the circle. The distance from the bottom of the sleeve to the armhole should equal the length at the under arm.


You are ready to cut out and sew!!

Samantha's little top is not bad for a first try, if I do say so myself. It still needs tweaking to get it perfect. I used rick rack to turn the hems on the sleeves and top and a bit of red embroidery at the neckline.


If you like this top let me know. this could turn into a little pattern if you need or want more detailed instructions. I have a couple of additional ideas of how this could be done for a little person too. So let's hear from you.

Meanwhile, keep stitching....

Monday, March 26, 2012

Pattern adaptations to make Snow White's Bodice

So hopefully you've mastered the stitch and are ready to tackle the pattern. A few alterations will allow you to make a little girl's dress that will give the feeling of the one in the movie.

The original has an off-the-shoulder neckline which isn't really suitable for a little girl so if we make a wider "Bateau" neckline you can still get the effect.

I am using the "Princess" dress pattern from my Doll
Clothes Collection. It has a template for a full length bodice with a jewel neckline and puff sleeves.
The cutting edge of neckline in the pattern is the actual neckline edge as it was meant to be bound with bias so you don't have to remove any Seam Allowances in this area.
You will, however, want to add Seam Allowance to the waistline of this template.

With your pattern you will want to mark in the finished neckline to make the changes.


I am working with half a pattern front at the moment.
So, draw a new neckline a bit lower and wider than  the original.


Now you can determine the Princess Seam.
Find a point on the waistline that will not be too wide (about 1/4 to 1/3 of the front waist) and then mark  a point on the new neckline that will give you a pleasing angle. With a pencil and ruler join these two points. Next mark a new grain line on the side bodice piece.
To do this measure from CF to a point on the side bodice near the top and near the bottom. Join these two points and add the arrows that indicate this is a grain line.
To the right you can see the new lines drawn in green.


Now you can trace off the two parts on separate pieces of paper and add the Seam Allowances to the appropriate
edges. Again you can see the new lines have been drawn in green. You might write the names of the pattern pieces, the size and "Snow White Dress" for future reference.

The CF or fold line of  my pattern piece is on the straight grain and will be marked when it becomes a full width pattern piece.   


So there you have the front bodice alterations basically done.
Now you need to make the back neckline match!


Trace off the back bodice pattern as you did the front.

        
Go back to your first page of changes and fold the shoulder seam allowance to the wrong side so you can match up the shoulder seams as if you were going to sew them.


Draw in a new neckline so that it blends gently with the front neckline. I chose to keep the centre back neck at the same point as the original (it is a doll after all) but you might want to lower the pattern a wee bit for a child.


I also noticed that the shoulder/sleeve join is rather pointy (How did I miss that way back in 1998?) so I took the opportunity to softened it a bit and becomes a smooth curve.


Next step is to add seam allowances to the new back neckline and the new armhole seam in the shoulder area.


Below you can see the pieces that were created.
All that is left to do is create the centre panel full width.


The easiest way to finish the neckline would be to clean line the whole bodice. This eliminates the need to finish the seam allowances and avoids little fingers getting caught in any of the carrying threads of the smocking on the inside of the bodice.

To test the fit and accuracy of the neckline and  Princess seams, make a muslin of your new pattern to try on the child. Draw any changes right on the fabric and then transfer them to your paper pattern. 
Piping the neckline would be a nice additional detail and of course you want to add a pretty lace edge.

Last but not least, the sleeves of Snow White's gown feature "cartridge" pleating. This is type of pleating that is seldom seem in clothing today. If your pattern has nice full puff sleeves you could get the effect of the cartridge pleats simply by creating box pleats.

So there you have it. And here is my challenge, send in your photos for posting if you dare to give it a try!

Till next time, keep stitching......